
DIY Home Studio Lighting for Under $30
If you've ever looked at the price of a softbox setup and thought, "in this economy?"... same.
So I designed my own.
Here’s how you can too.
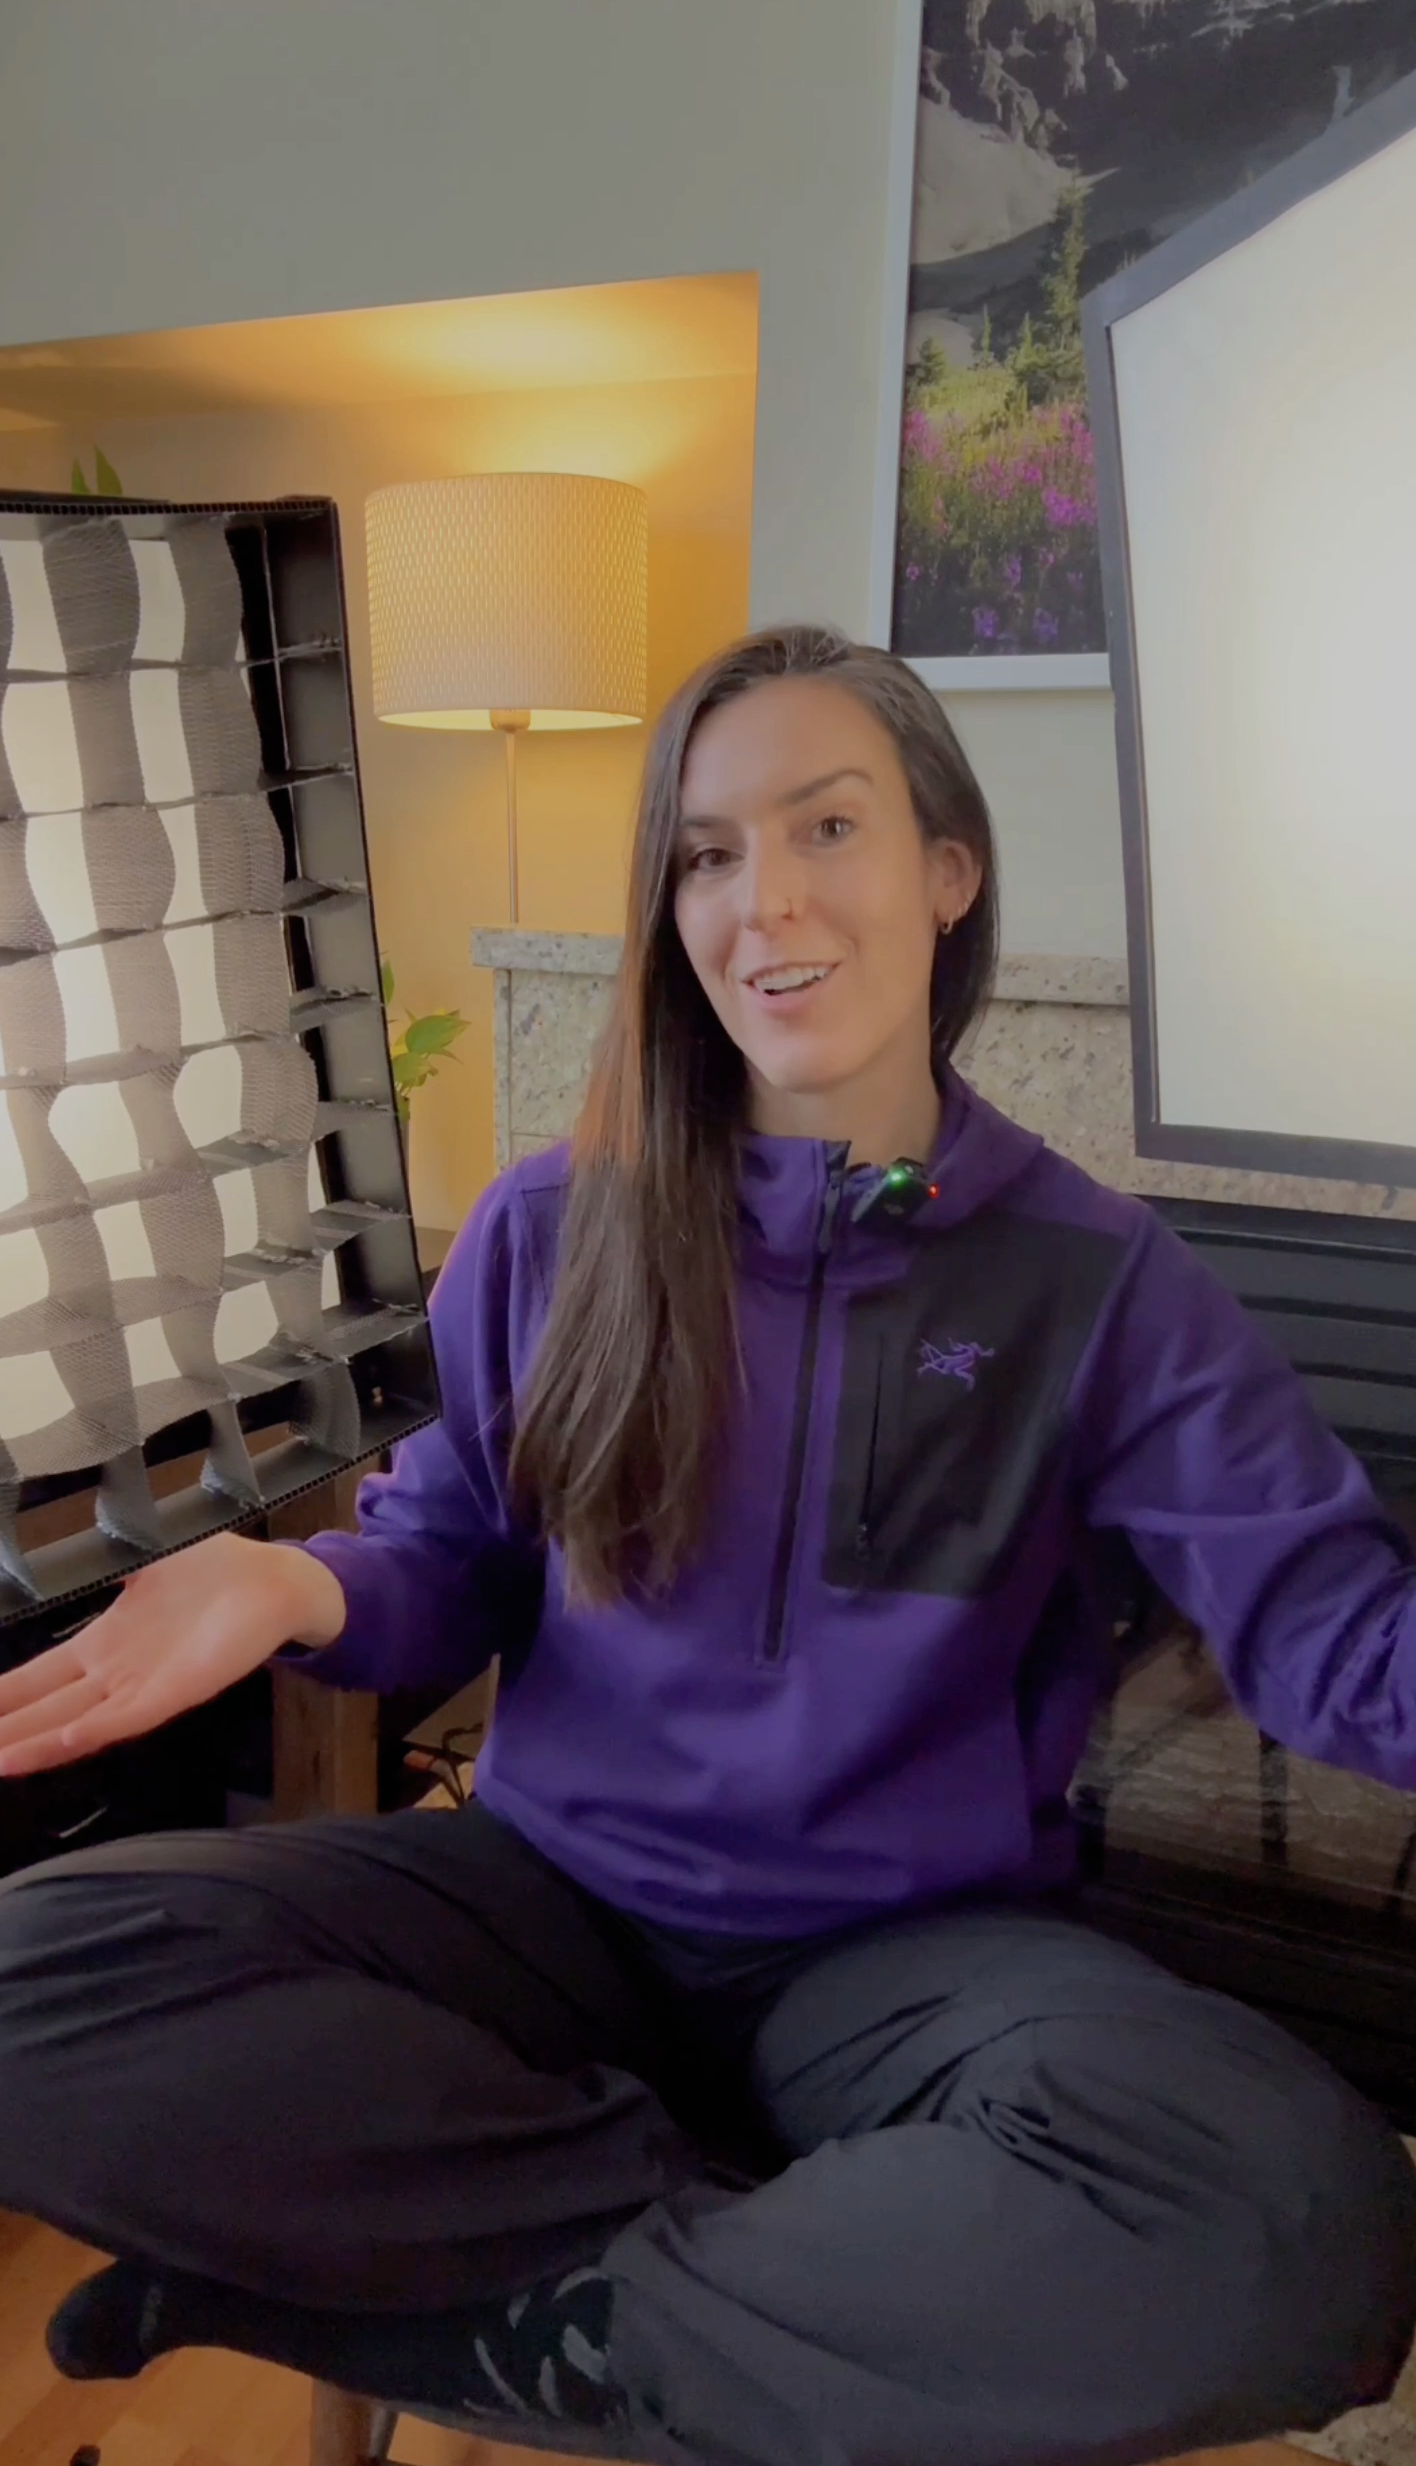
I recently accepted that I need better lighting… one window just wasn’t cutting it. Especially given I’m sharing more about my prints and filming more video content, which really can’t be poorly lit. But a basic light + softbox kit runs $200–300 new, and I couldn't justify it.
So in classic Alex side-quest fashion, I designed and built my own. Two, in fact, for under $30 each.
TLDR:
I found a pair of Husky LED work lights for $30 ($15 each) at Home Depot then used Claude to design the build with the dimensions of the lights. With a little guidance it calculated the measurements, build diagrams and supplies I needed. I picked up some foam board, aluminum tape, a shower curtain liner and vinyl placemats, then assembled it all with stuff I had at home including duct tape, glue gun, and box cutter. It only took a rainy Sunday afternoon with a solid set of records rotating in the background (yes, I absolutely mean vinyl).
To mount them I super-glued a nut to the base of each light that fits a standard tripod thread, and put them on two old tripods I already had laying around. If you don't have tripods you can find inexpensive ones on Amazon or Marketplace.
Also yes, I realize AI is kindof a taboo term these days. But this felt like a decent and productive use case ;)

What you’ll need
I’ve included the full build guide below: a complete shopping checklist, exact panel dimensions, and step-by-step assembly. But here's the quick version so you know what you're walking into:
Husky 1000lm LED work lights: $30 for two
Foam board: 20"×30" sheets, 2 sheets for two softboxes
Aluminium foil tape
Shower curtain liner (dollar store)
Tracing paper or parchment paper (inner baffle)
Hot glue gun, duct tape, velcro
A nut that fits a standard tripod thread, for mounting (super glue it to the base of the light)
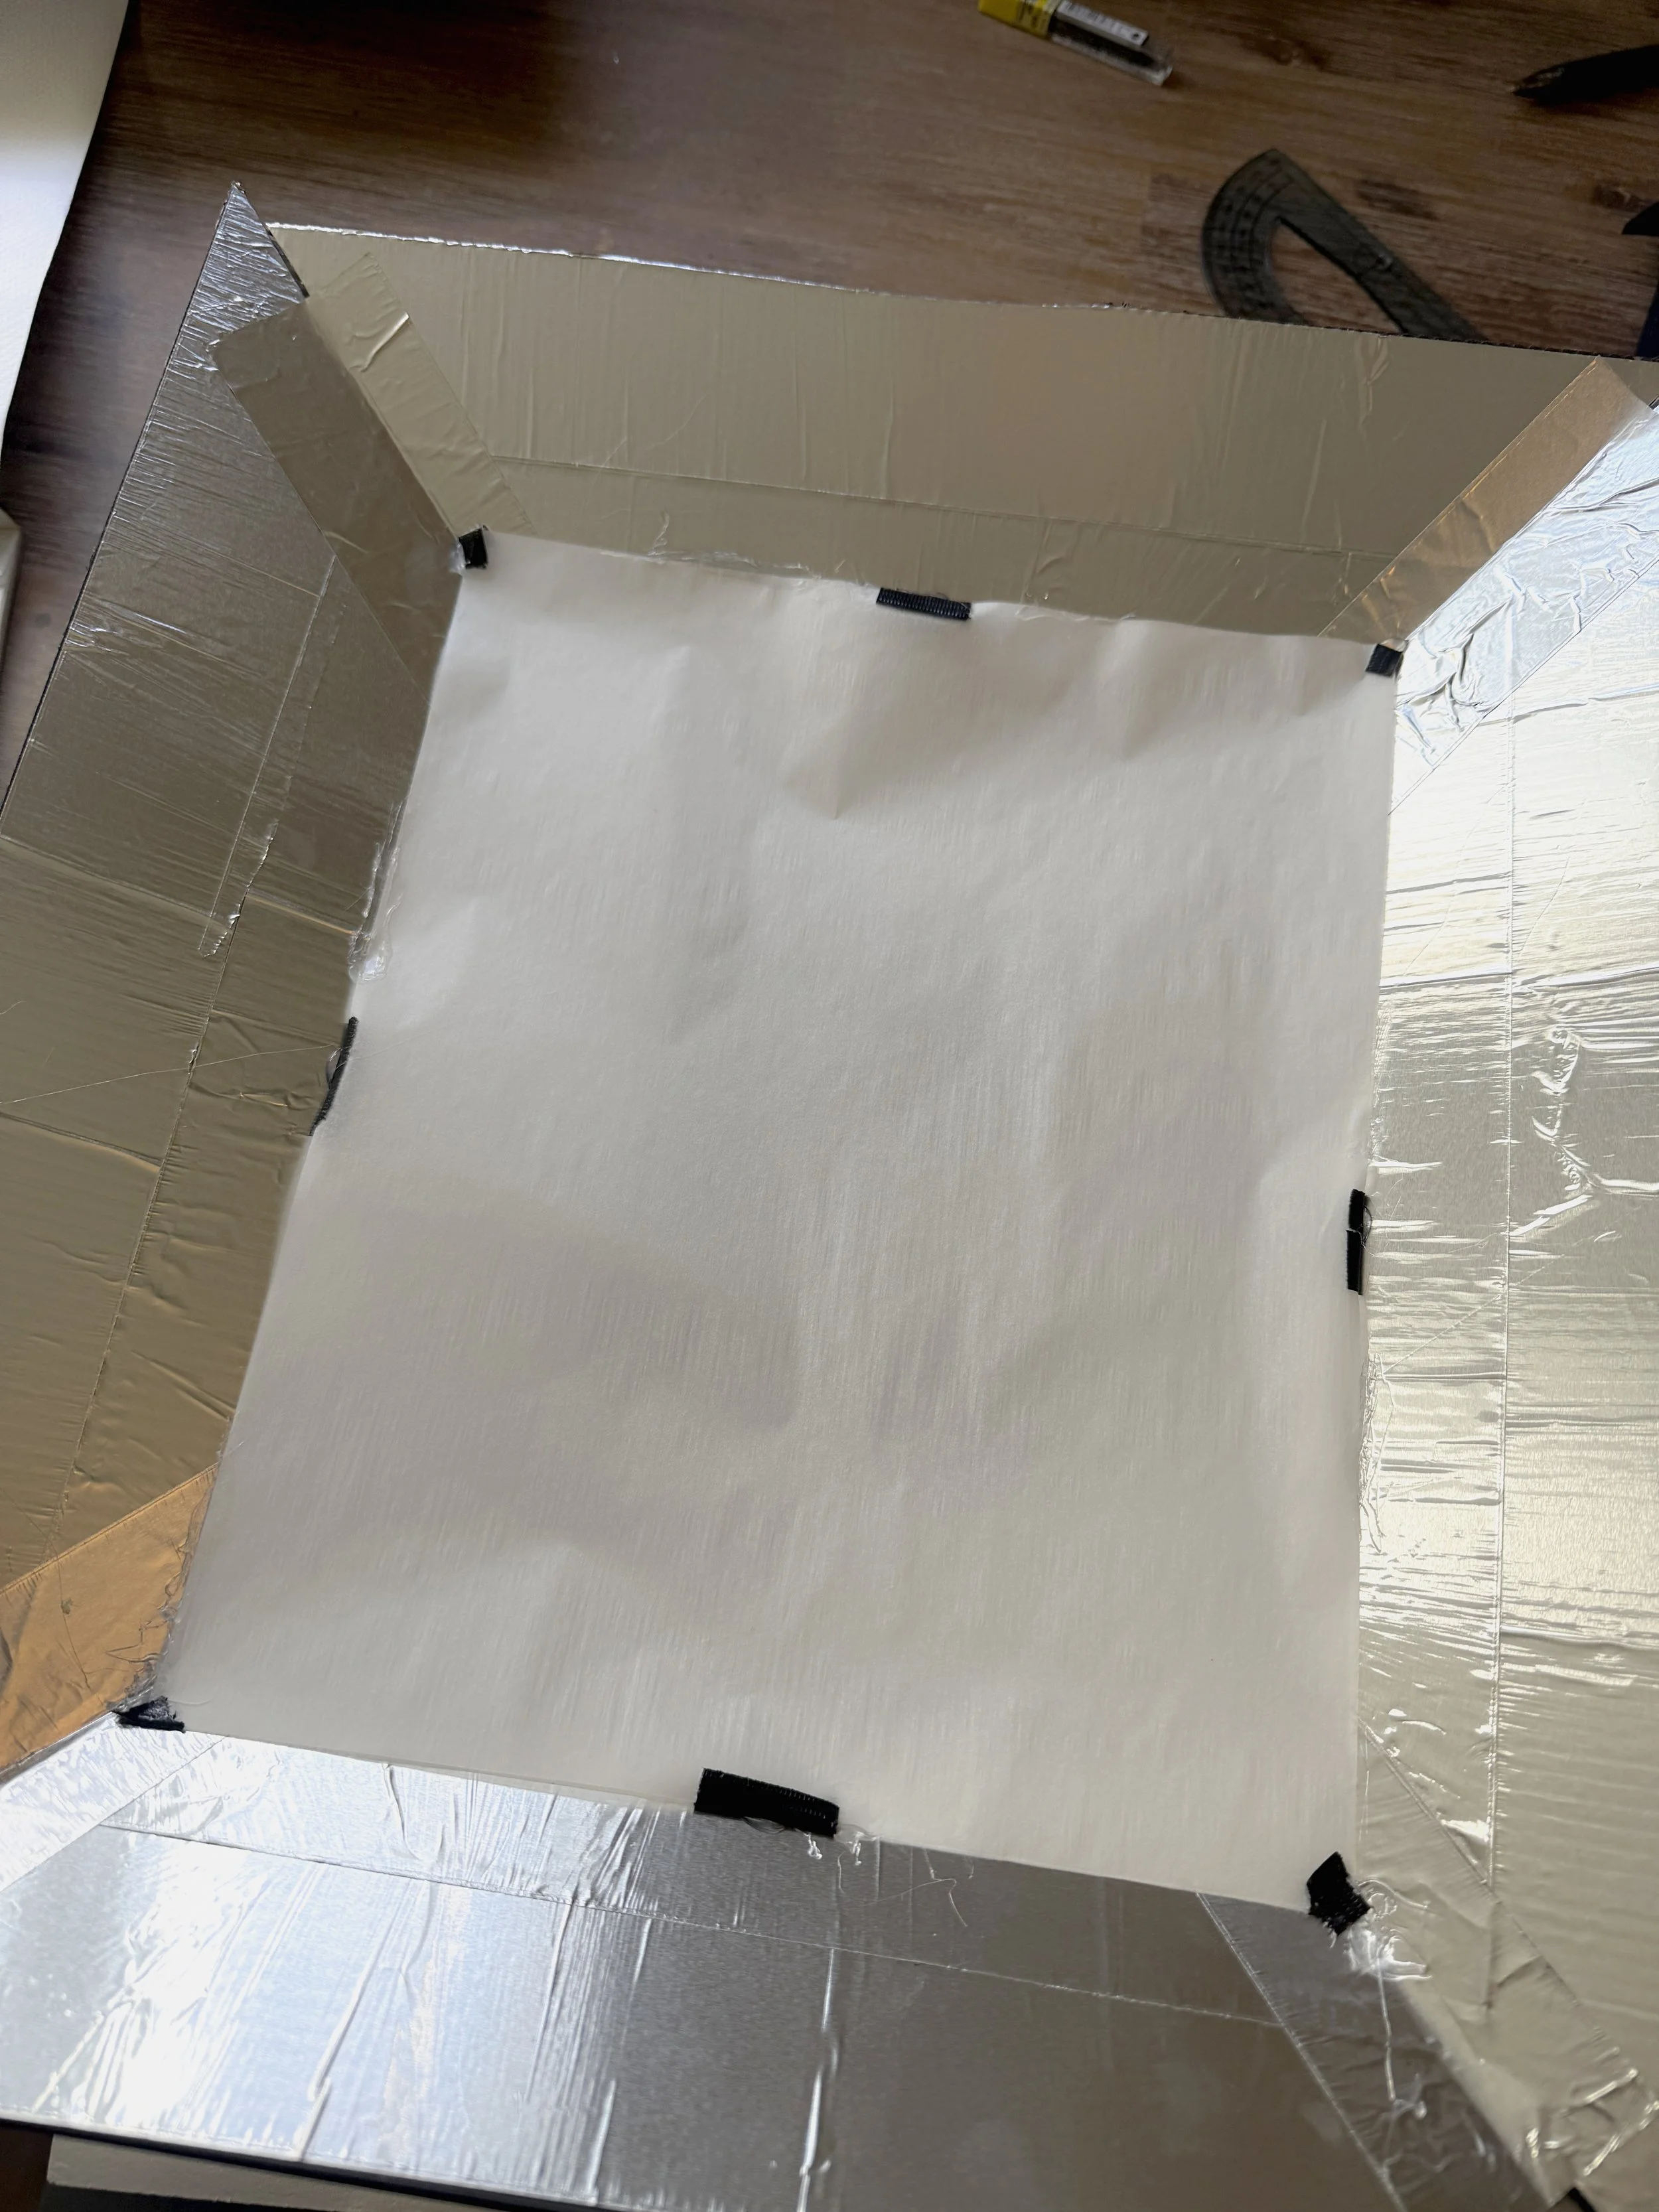
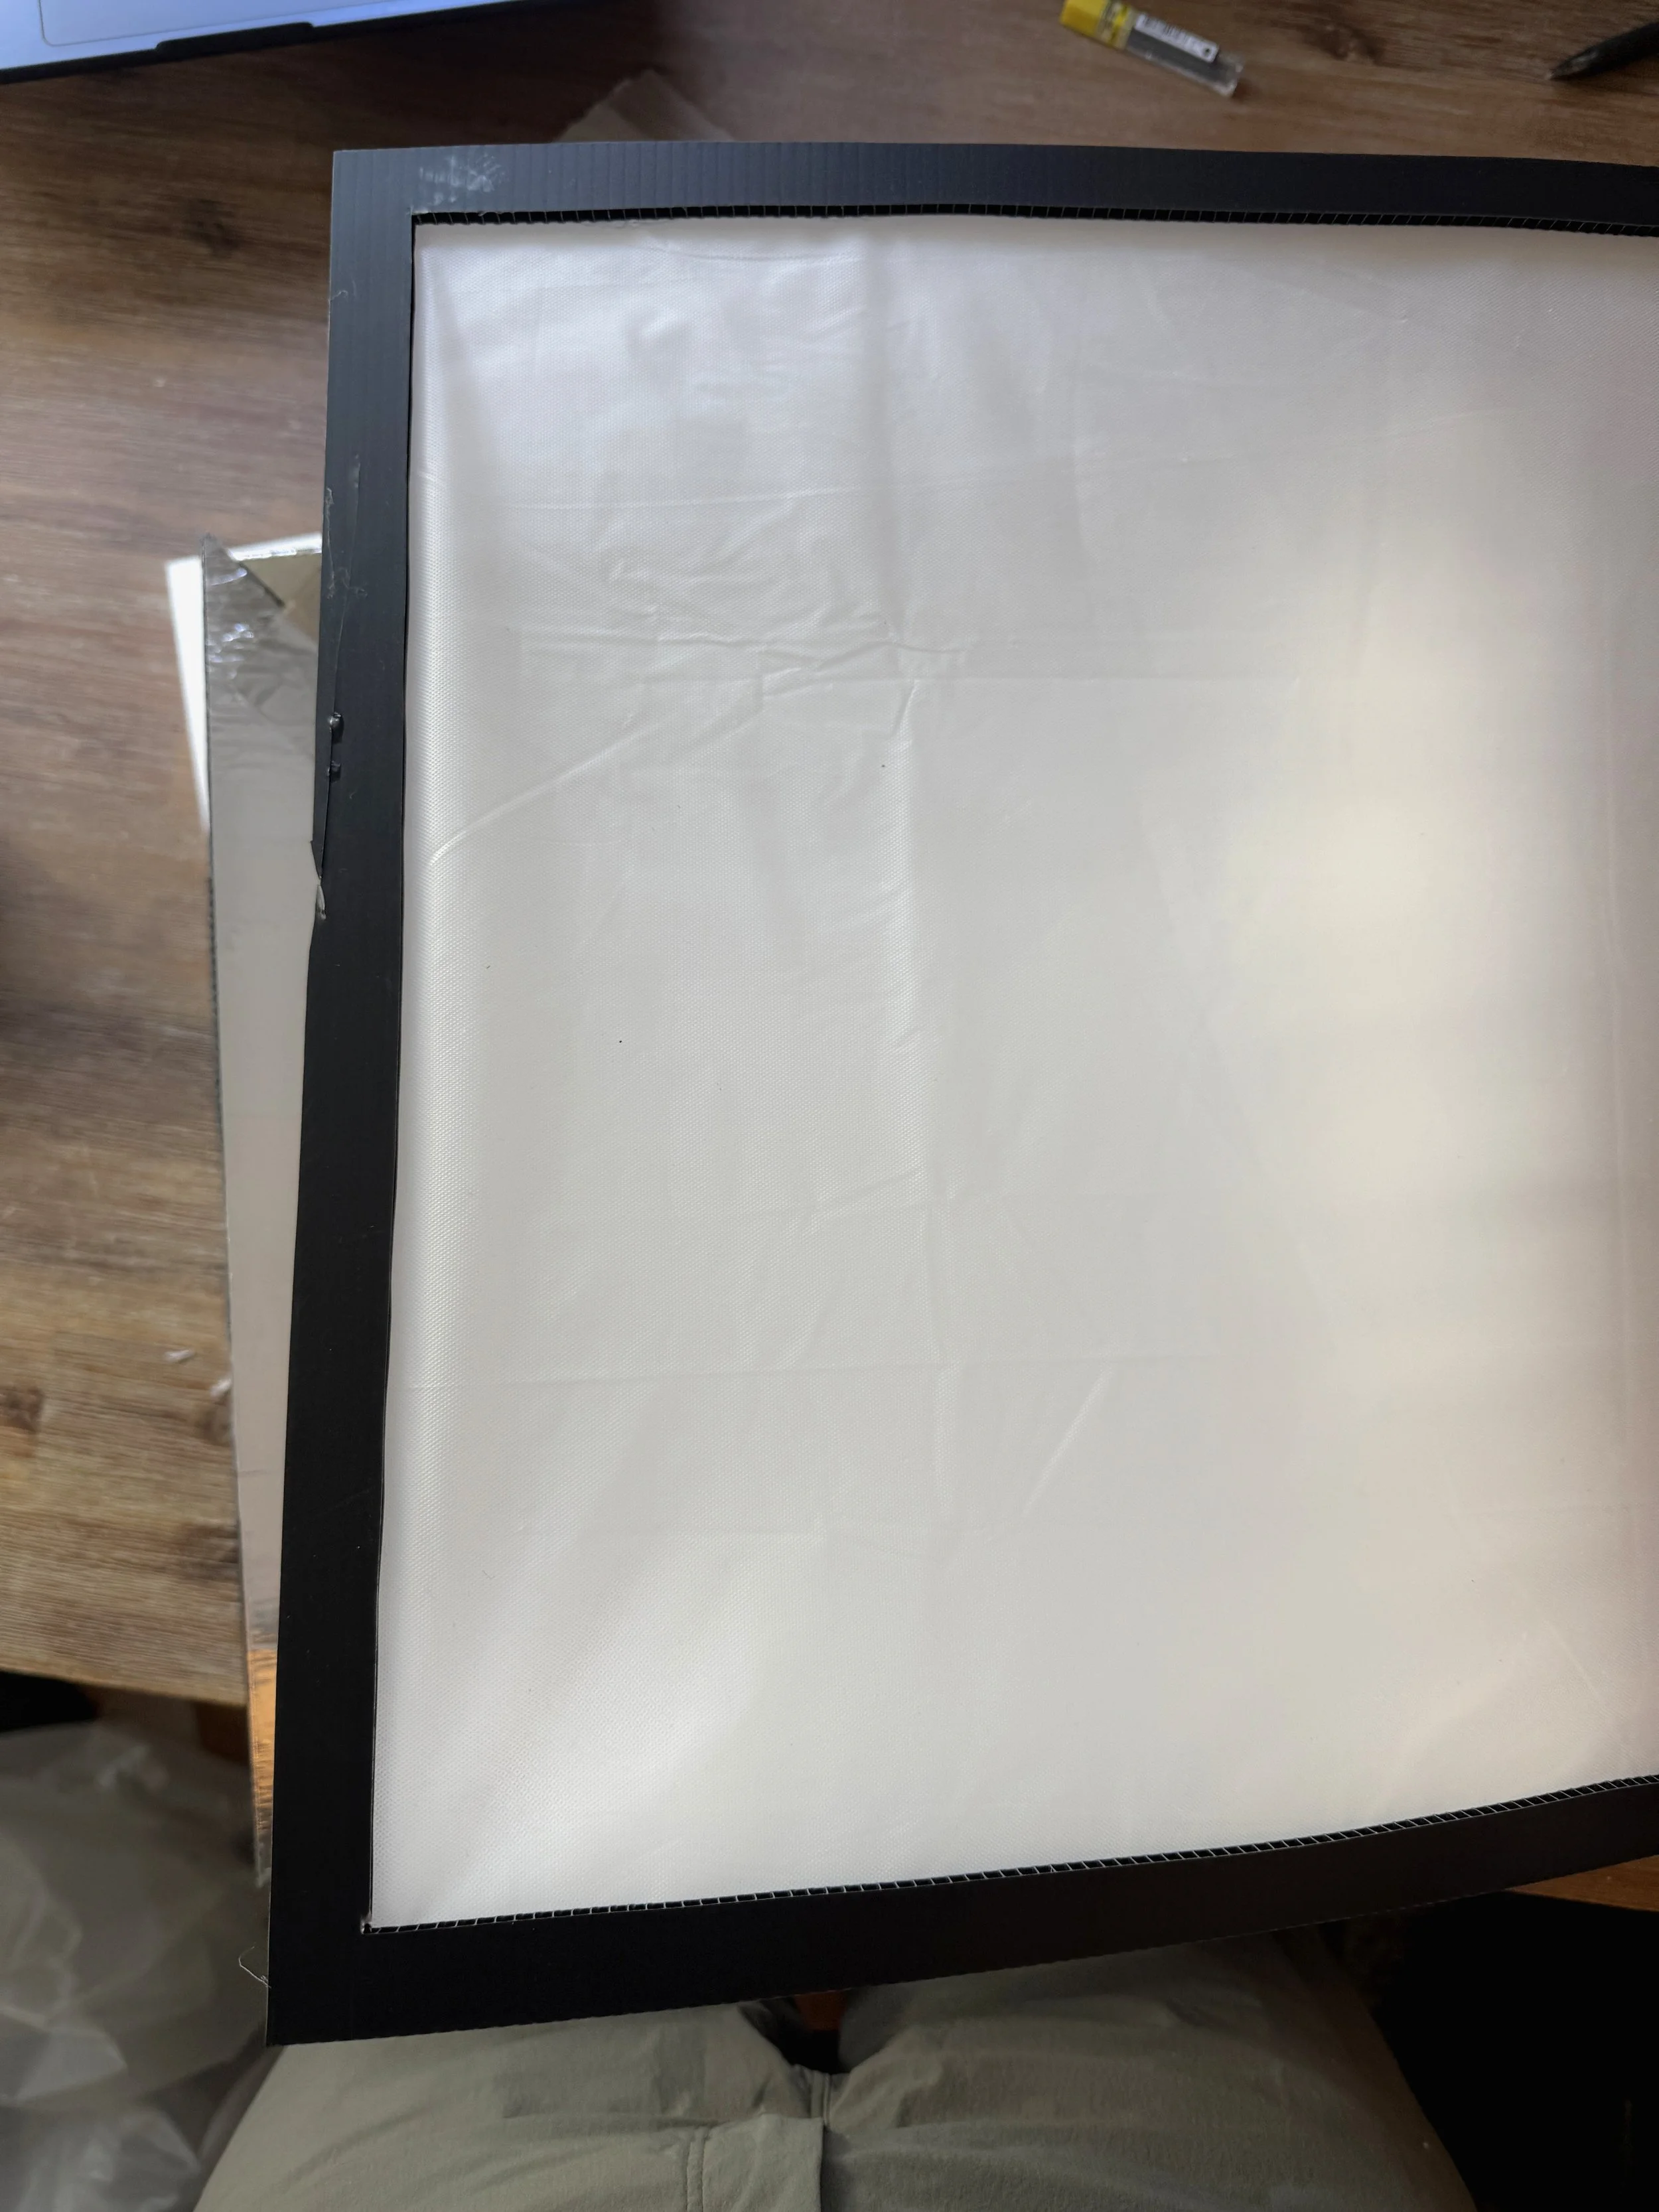
Part 1. Building the softbox(es)
Here’s everything you need, including panel dimensions, how to cut the trapezoid sides, assembly order, and how the collar attaches to the light, all in the guide below.
Important note: the dimensions are sized for the Husky 1000lm lights specifically. If you're working with different lights, scroll down to Guide 3 the Claude prompts are set up so you just swap in your housing measurements and it regenerates everything for you.
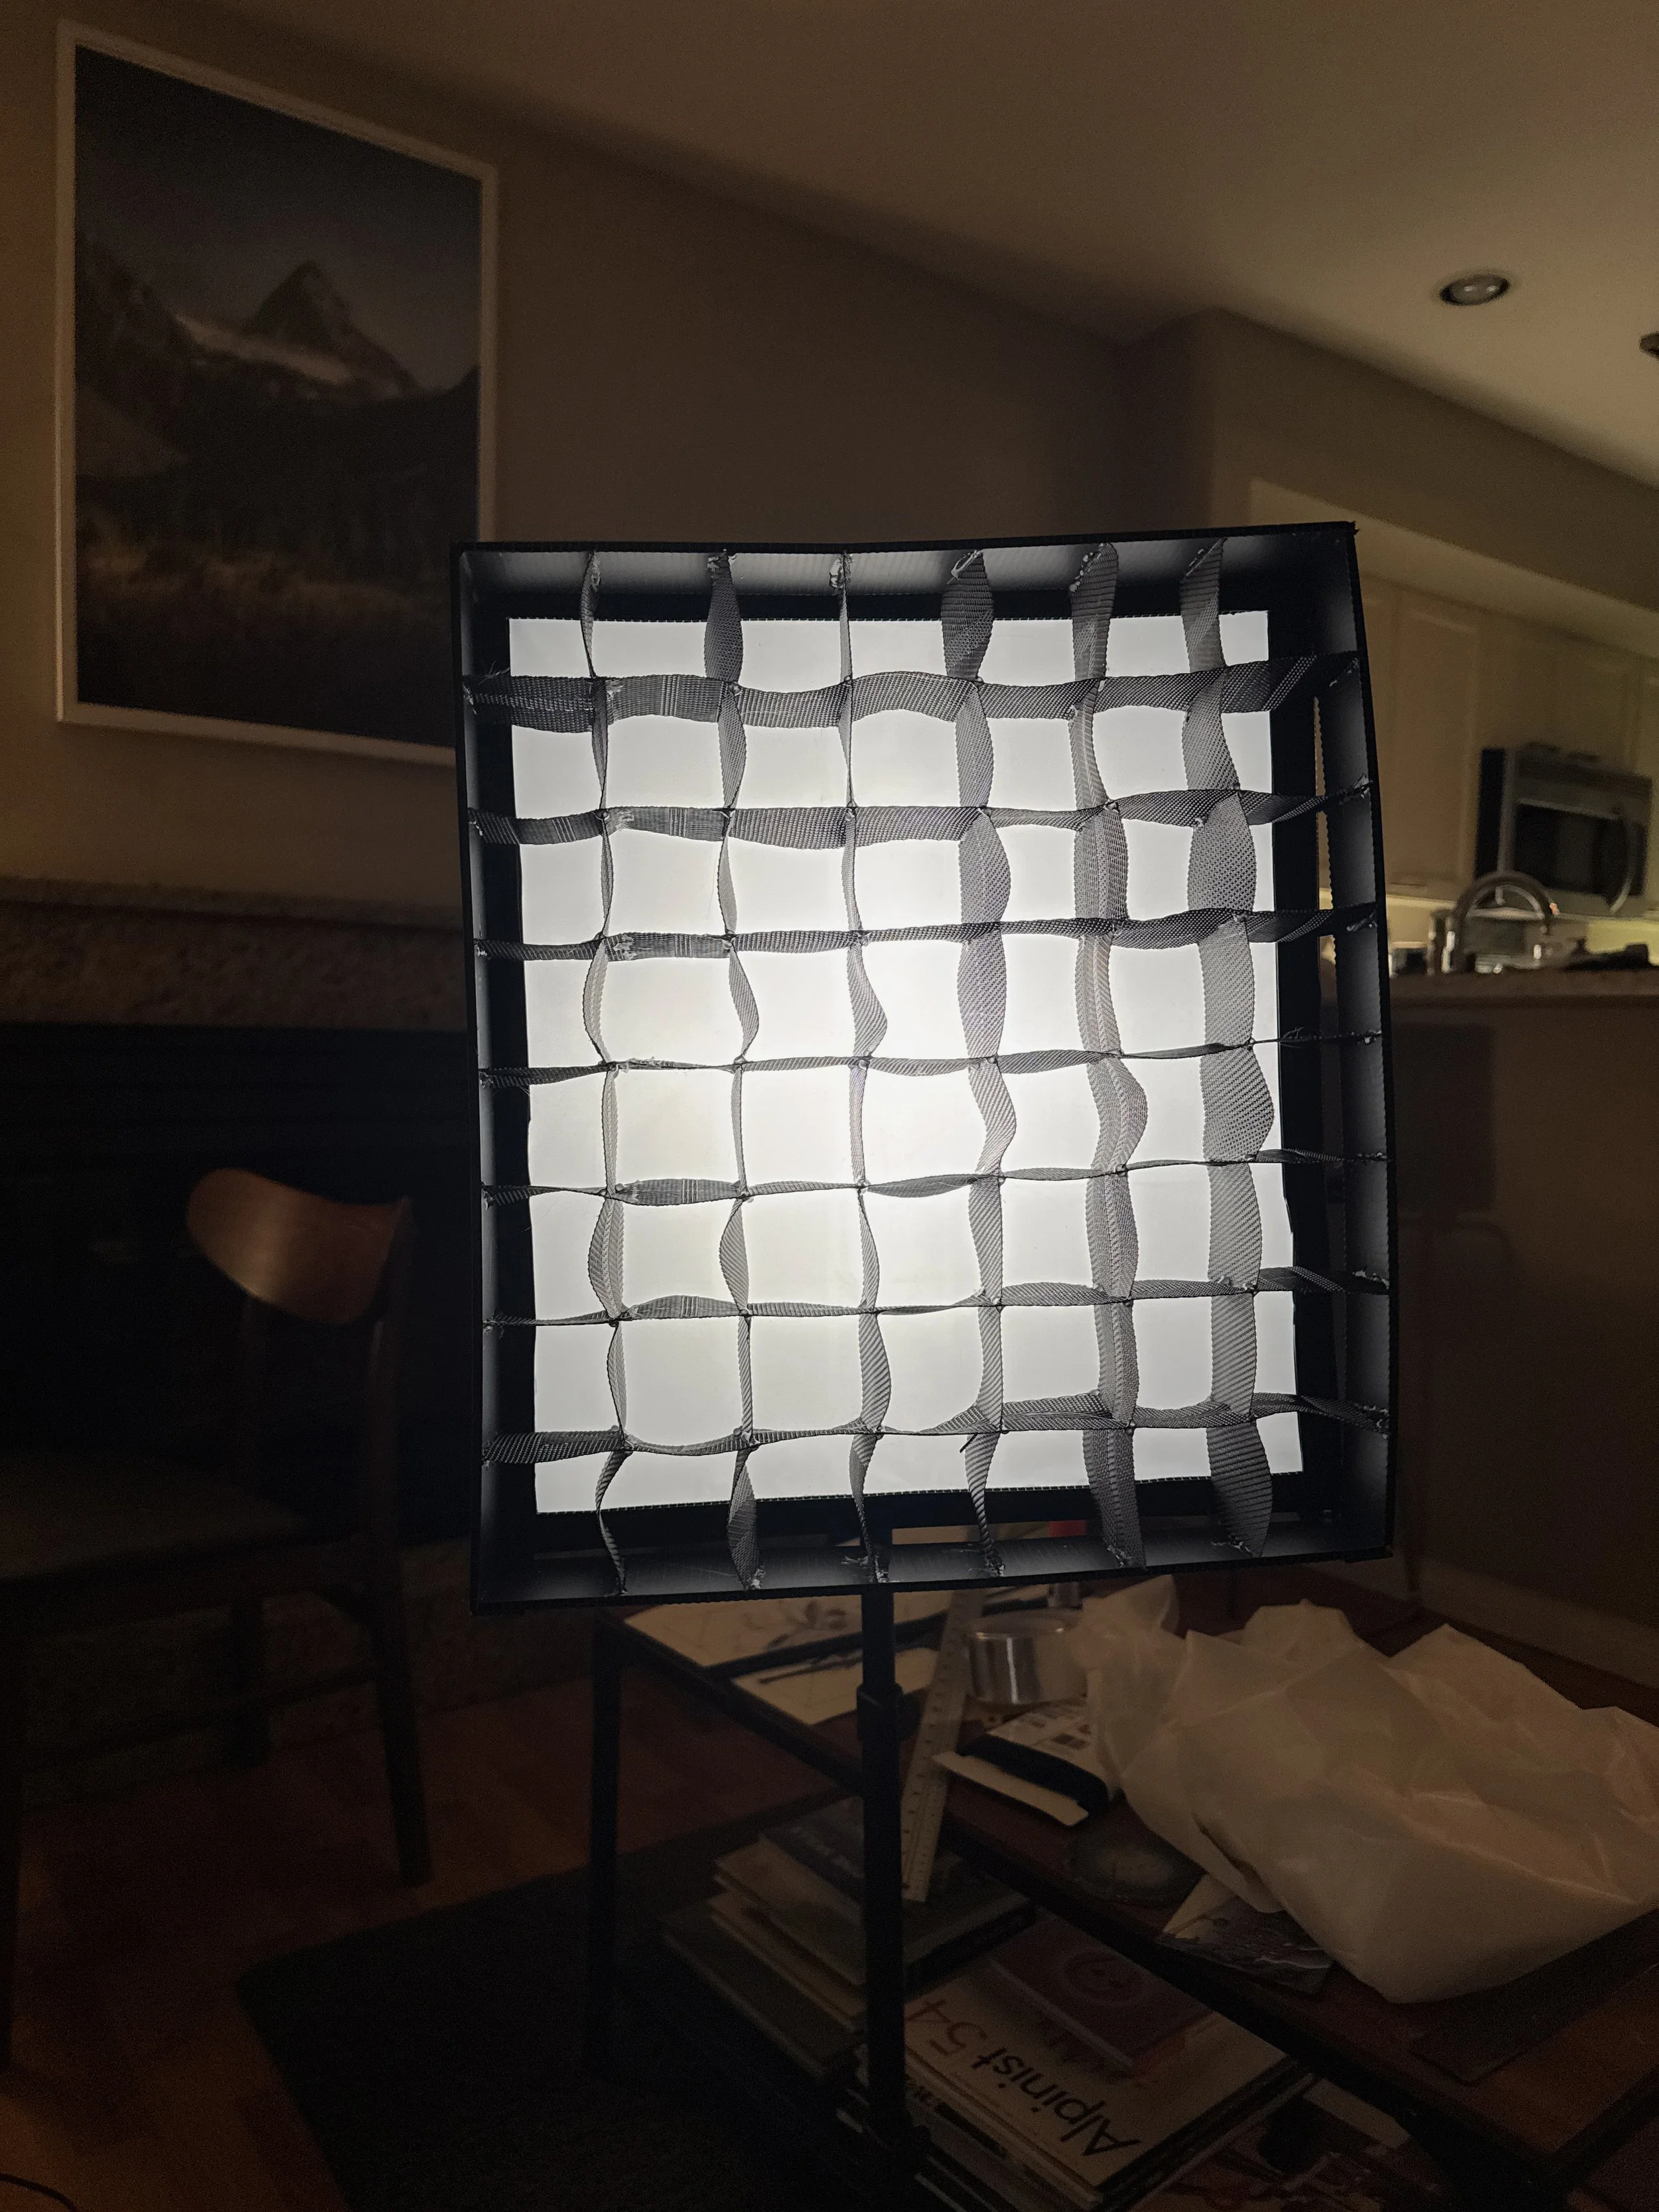
Part 2. The optional grid
I’m honestly kinda proud of this one. I didn’t think to get Claude to help me design it at first, but at the dollar store I was thinking “what material could work to build a honeycomb grid?” Then I saw the placemats and thought BINGO.
The grid controls where the light actually goes. Without it light spreads wide, which can be fine, but added it gives you get a tighter, more directional beam: less spill, more control. Commercial egg-crate grids run $40+. This one is dollar store placemats, cut into strips and slotted together.
Completely optional, but worth it and I find it works great as a keylight.
Part 3. Customizing for different lights
This is the part that makes the whole build reusable. I figured not everyone might have access to the exact same lights, so I put together a Notion page with the Claude prompts I used to generate the panel math. So if you have a different light, different dimensions, or want to tweak the depth or diffusion setup, you can run the prompts yourself and get a fully customized cut list.
You don't need any coding knowledge. Just Claude account (free tier works) and the dimensions of your light housing.’
Here’s a link to the page below 👇

^^^ click dis
Does it actually work?
I wouldn’t share this if it didn’t! That would be embarrasing, hey?
I’m honestly super stoked with how they turned out. The light is soft, even, and wrappy. The inner baffle really helps to even out the diffusion.
Of course this isn’t a $300 softbox setup. It doesn’t have ultrahigh CRI or customizable temperatures. But for simple filming at home with a phone or camera it does exactly what it needs to do.
If you make your own please let me know! I’d be so stoked to see how yours turns out. Leave me a comment here or on the reel I posted to Instagram.
Alex Mack is a landscape and adventure photographer, ACMG apprentice hiking guide, and high altitude physiologist based in Vancouver, BC. She writes about mountains, photography, and the space where science meets adventure.
With appreciation that the lands known today as Canada are home to the enduring presence of all First Nations, Métis, and Inuit peoples. We acknowledge the past, present, and future generations of these Nations who continue to lead us in stewarding this land, and honour their knowledge and cultural ties to this place.